



Clipping a probe around a wire and reading the current off your scope feels about as basic as bench work gets. That’s exactly why it goes wrong so often. Bad current readings almost never announce themselves. There’s no error code, no flashing warning, just a clean-looking waveform that happens to be lying to you. A probe that runs 2% high on an efficiency test, or one that loses a 5 mA standby current somewhere inside its own hiss, will hand you a number you have no reason to doubt.
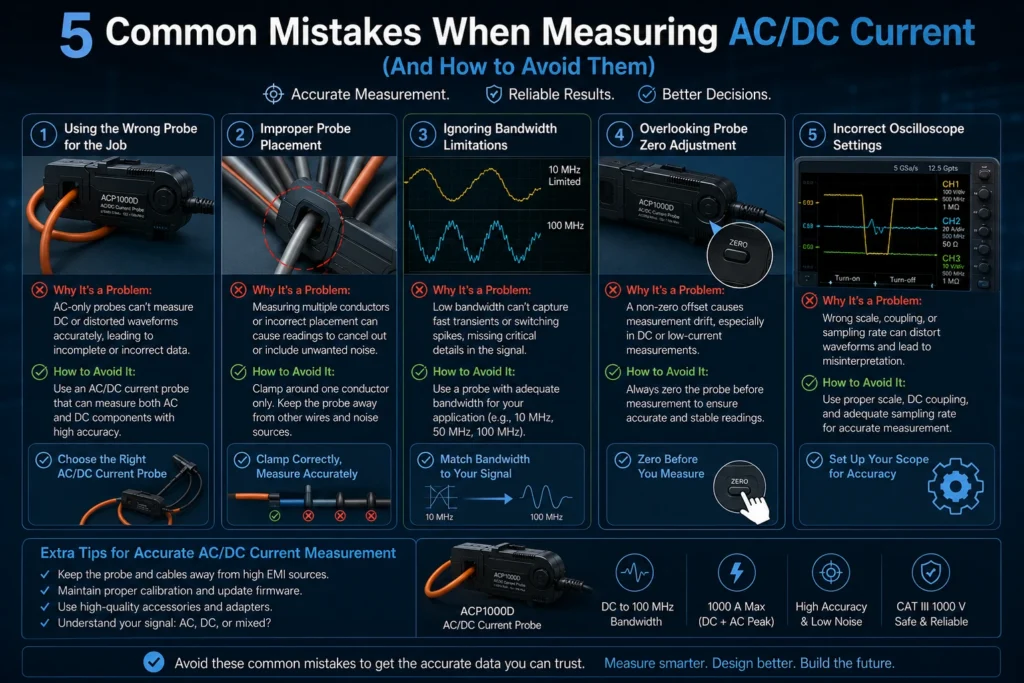
Here are the five that trip people up the most, and what actually fixes each one.

1. Trusting the zero without degaussing
Any clamp probe with a magnetic core has a memory, and it’s not a good one. Run a big current through it, subject it to an overload, or just leave a DC current sitting in the core for a while, and some of that magnetization stays behind after the current’s gone. That leftover flux lives in the core as a fixed offset, and it quietly adds itself to everything you measure afterward.
You usually won’t catch it. The probe shows a little current with nothing in the jaws, but on a large AC signal that offset vanishes into the general mess and nobody’s the wiser. Switch to a small DC current or a tight efficiency calc, though, and suddenly that baked-in offset is a real error sitting on top of your reading. Averaging won’t touch it, because it isn’t noise. It’s a bias.
Degaussing is how you clear it out. The probe runs its core through a decaying AC field, the magnetic domains scramble back to neutral, and the offset goes away. Plenty of engineers treat this as a nice-to-have for the fussy types. It isn’t. Anytime a probe has carried a heavy load, taken an overload, or just been sitting in a drawer since last month, degauss it and re-zero before you trust it below the amp range.
The real reason people skip it is that it’s annoying. If degaussing means unclipping the probe, digging through a menu, and re-zeroing by hand, it’s the first thing to go when you’re behind schedule. So the honest fix is to stop making it a chore, which is where a probe that degausses and zeroes in one press earns its keep.
2. Reaching for the wrong probe
There’s no such thing as a do-everything current probe, and picking the wrong sensing method for the signal in front of you is probably the most common way to get a wrong answer with perfectly good gear.
Hall-effect probes read the magnetic field itself, which means they work all the way down to DC. That’s the whole reason to own one. They’ll show you steady-state current, inrush, and the DC part of a mixed signal that a coil-based sensor can’t see at all. What you pay for that is offset that drifts with temperature, a noise floor you have to respect, and a bandwidth ceiling that’s fairly modest next to what coils manage. Use them on DC power rails, motor-drive currents, battery draw, anything where the DC or slow stuff is the point.
Rogowski coils wrap an air-core winding around the conductor and measure how fast the current is changing rather than the current itself. No iron means no saturation, so they stay thin and floppy enough to snake around a busbar or squeeze onto a crowded board, and they shrug off huge peak currents. The trade-off isn’t subtle: a Rogowski coil can’t see DC. It only responds to change. That makes it great for fast switching transients, IGBT and SiC/GaN commutation currents, and big AC pulses, and completely useless on a steady DC rail.
Current transformers run on induction too, so they’re just as blind to DC, but the iron core buys them good sensitivity and a stable, well-defined ratio across an AC band. They’re the tool for power-frequency and mid-frequency AC where you need that ratio to hold. Feed them DC and the core drifts toward saturation and takes your accuracy with it.
The trap is grabbing whatever probe’s already clipped to the bench instead of asking what’s actually in the signal. One quick habit saves most of the grief: if there’s any DC or low-frequency content that matters, you need Hall (or a fluxgate/hybrid front end); if it’s pure AC, especially fast or high-peak, a Rogowski coil or a CT will serve you better. Choosing out of habit rather than looking at the signal is how a good probe gives you a bad number.
3. Assuming your bandwidth is fine
Bandwidth is where measurements fall apart without ever looking like they did. Feed a fast switching edge into a probe that tops out at a few tens of kilohertz and you’ll still get a waveform. It’ll just be a rounded, shrunken, slightly late version of the real thing, and because it looks believable, nobody questions it.
The catch is that real current waveforms are full of harmonics. A converter switching at 100 kHz isn’t a 100 kHz sine wave, and its edges carry energy well up into the megahertz. Measure that with a probe whose bandwidth quits before the harmonics do, and the edges smear, the peaks read low, the rise times stretch, and anything you calculate off that waveform, switching loss, di/dt, EMI estimates, inherits every bit of the distortion.
Two habits keep you honest. First, size the bandwidth to the fastest thing you care about, not the fundamental. A decent rule is to leave yourself roughly five times the fundamental so you actually capture the harmonics that count. Second, bandwidth belongs to the whole chain, not just the probe. The probe, the amplifier, and the scope each drag it down, and the combined number is always worse than the weakest one in the set. A fast scope won’t rescue a slow probe.
Watch for derating too. A lot of probes shed bandwidth and pick up phase shift as the current climbs, or when the wire sits off to one side of the jaws. That headline number on the datasheet came from ideal conditions your bench probably won’t reproduce.

4. Losing small currents in the noise floor
Every probe has a noise floor, a baseline of broadband hash where real signal and instrument noise blur together. On a big current it doesn’t matter at all. On small-signal work it’s the entire ballgame.
Go measure a few milliamps of standby current, a sensor’s quiescent draw, or a leakage path with a probe whose noise floor sits in the tens of milliamps, and you’ve already lost. What comes back isn’t the current, it’s the probe’s own noise with a faint signal buried somewhere inside. Turning up the scope’s vertical sensitivity doesn’t help either, because it blows up the noise right alongside the signal and hands you a fat fuzzy band instead of a trace you can read.
A few things set that effective floor: the sensor’s own noise, the gain you’re running, and the measurement bandwidth, since more bandwidth lets in more noise, which is exactly why band-limiting a scope channel can clean up a small-signal trace so dramatically. How well the probe fends off outside interference matters too. The mistake most people make is shopping by maximum current rating alone. A probe that swallows hundreds of amps is worthless at 5 mA if its noise drowns the reading.
Fix it by sizing the probe to the smallest current you care about, not the biggest, and by hunting for a low noise floor and decent low-range sensitivity in the spec sheet. Then trim the measurement bandwidth to what the signal actually needs, because every extra hertz is just more noise poured into the number.
5. Zeroing once and forgetting about drift
Even a freshly degaussed probe won’t hold still. Hall-effect sensors especially move their zero point around with temperature, so the probe that read a clean zero in a cold lab reads a small offset an hour later once everything’s warmed up. On a long test, or one that runs across a temperature swing, that drift walks your baseline off zero and never says a word about it.
Zeroing once at the start of the day and assuming it sticks is the mistake. It doesn’t stick. Re-check the offset whenever the room temperature moves, after the probe’s carried a heavy load, and before any reading where the absolute value actually matters. On DC or low-frequency work, an uncompensated offset is a plain error added straight to every point you record.
The habit is dead simple: zero the probe with the wire out of the jaws (or the demag/auto-zero function running) right before the measurement that counts, not hours ahead of it. The smaller the current, the more this bites.
Make the right way the easy way
Look at those five and you’ll notice they don’t come from bad engineering. Every one of them is a step people already know they should take and skip anyway, because it’s tedious and the clock is running. Degaussing gets skipped, re-zeroing gets put off, the wrong probe stays clipped on because unclipping it is a hassle. The problem was never knowledge. It was friction.
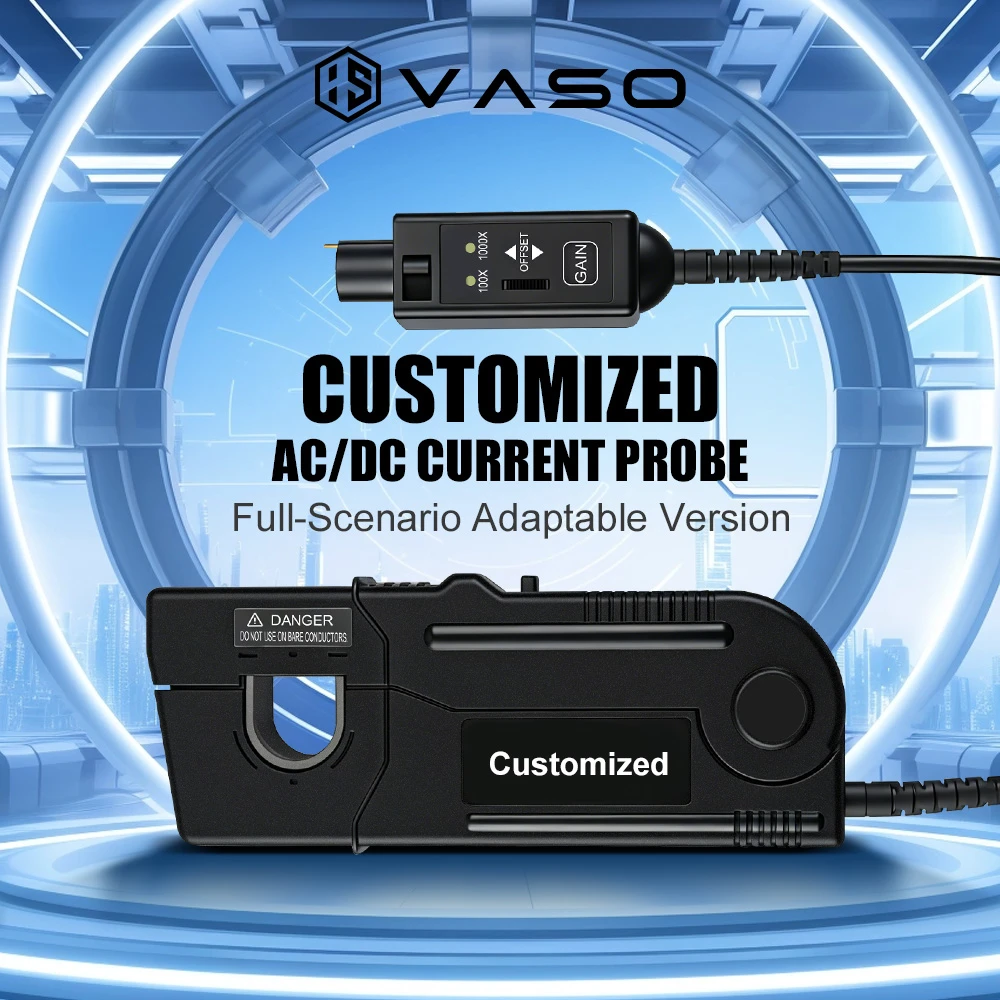
That’s the argument for a probe built to kill the friction. The Vasozk current probe folds degauss and auto-zero into a single button, so instead of unclipping, menu-diving, and re-zeroing by hand, one press runs the demag cycle and lays down a fresh zero in a couple of seconds. The step that used to get cut under deadline pressure turns into the step nobody minds, and that’s really the point, since a correct procedure only helps if people actually do it.
It matters again on the small-signal work from mistake four. Vasozk’s front end is built around a low noise floor, so quiescent currents, standby draw, and leakage measurements stay up above the hash instead of sinking into it. Where a general-purpose high-current probe smears a few-milliamp signal into a fuzzy band, a low-noise design keeps the trace clean enough to read, and clean enough to believe the number that comes off it.
If a good chunk of your bench time is precise DC and low-level current, it’s worth putting a Vasozk probe next to whatever you’re using now and settling it directly: degauss both, zero both, measure the same small current, and see how much of the signal each one actually gives back. That side-by-side is usually where the difference between a careful measurement and a lucky one shows up.
The short of it
Current measurement pays off discipline more than instinct. Degauss before you believe the zero. Match the sensing method to what’s really in the signal, Hall for DC and low frequency, Rogowski or a CT for fast AC. Make sure the whole chain has the bandwidth to catch the harmonics that matter. Check the noise floor before you go chasing small currents. And re-zero often enough that drift never gets a grip. Get those right and the number on your screen finally means what you think it means.